


- Basics
-
 Primary Weapons
-
Special Weapons
-
Heavy Weapons
- Classes
- Sub-Classes
-
Races
-
Story Missions
-
Strike Missions
-
Collectible - Dead Ghosts
-
Collectible - Gold Chests
- Game Modes
-
Vanguard and Crucible Bounties
- Exotic Bounties
-
Multiplayer
-
Multiplayer Maps
- Trophies
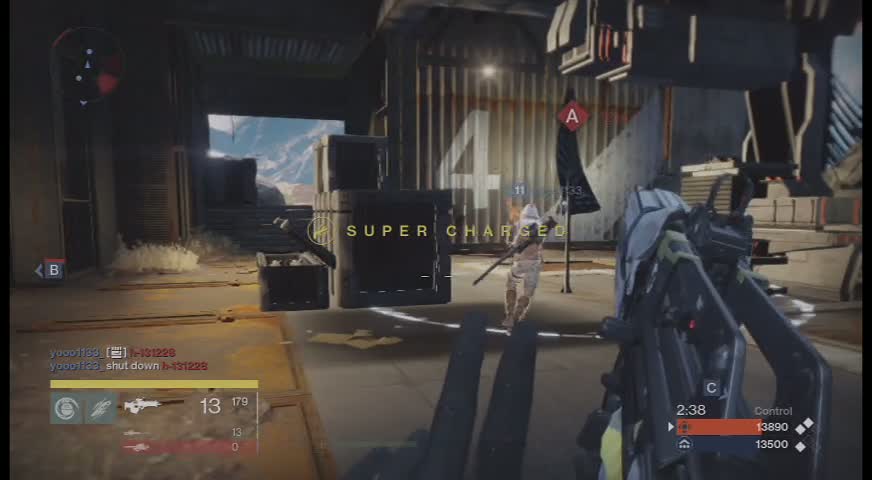
Twilight Gap
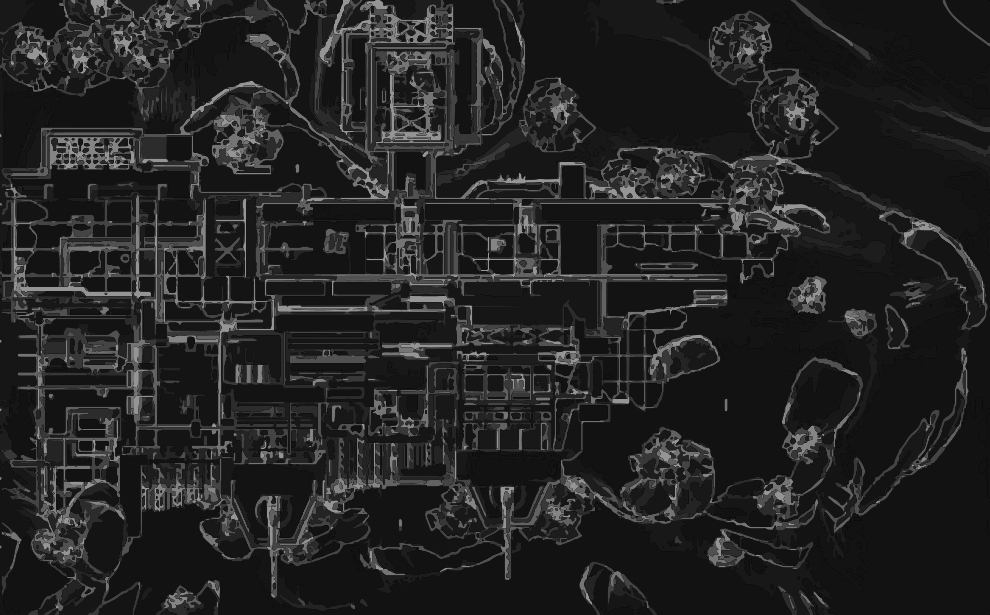
Overhead map layout courtesy of Segmentnext
This map is located close to the City, with the Traveler in the backdrop. In a Control match, Control Point A is near a gun battery, Point B is on a separate platform near the edge of the map, while Point C is inside the building. All control points have multiple entrances. Out of the three, Point B is more difficult to maintain. This is because it can be approached from any side and there's hardly enough room to move around and evade splash damage attacks like grenades, rockets or a Titan's Fist of Havoc.

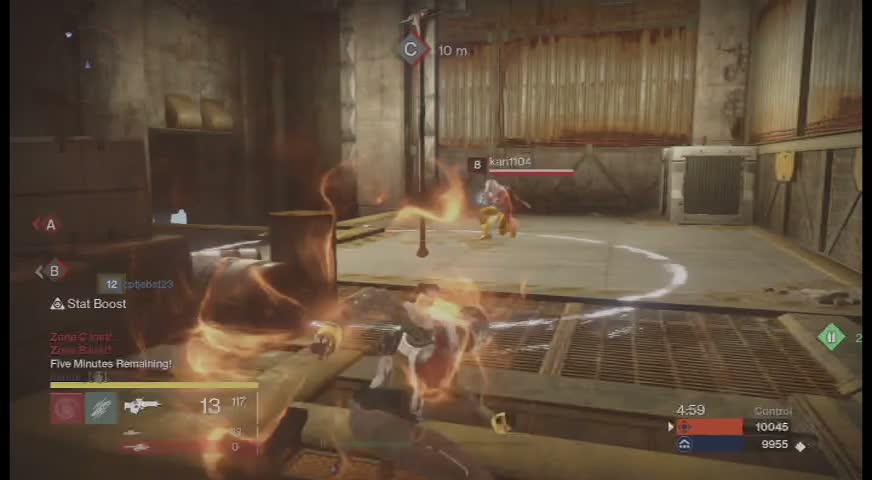
The layout of this map is disorienting, making it hard for you to locate target using your motion sensor since it will track targets even if they're on a different elevation than you. The bulk of the fight will take place in the area between the three points. While it is possible to snipe enemies from the outer skirts of the map near Point A, it will be beneficial to move inside to help your team mates.
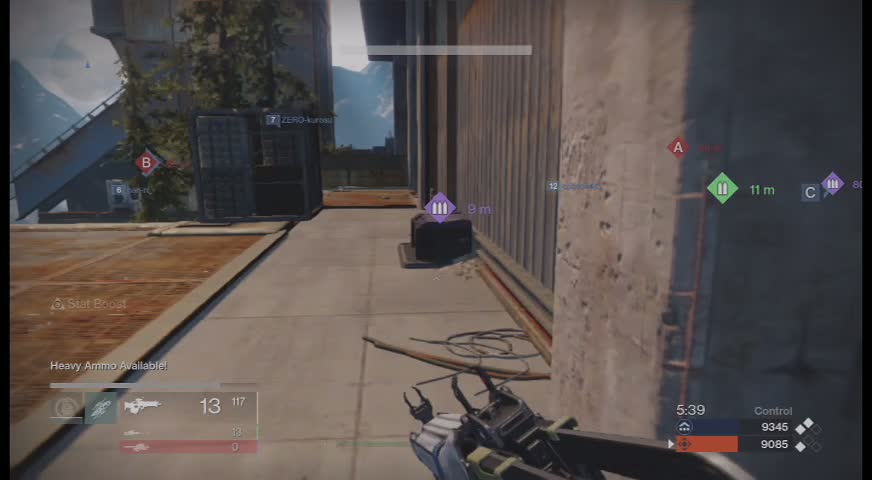
For other modes, most of the player traffic will still take place inside the base. There are a lot of entrances to consider and the only way to be effective in this map is to learn its layout and memorize it. There are two heavy ammo locations; one is on the walkway outside, near Point C while the other is in the balcony between the two gun batteries, near point A.
Comments for Twilight Gap
No comments yet. Tell us what you think below to be the first.
Add a comment
Please do not be rude, what may be obvious to you may not be to others.Characters left: 1000