


- Basics
-
 Primary Weapons
-
Special Weapons
-
Heavy Weapons
- Classes
- Sub-Classes
-
Races
-
Story Missions
-
Strike Missions
-
Collectible - Dead Ghosts
-
Collectible - Gold Chests
- Game Modes
-
Vanguard and Crucible Bounties
- Exotic Bounties
-
Multiplayer
-
Multiplayer Maps
- Trophies
05: Cerberus Vae III
| Meridian Bay, Mars |
| Level 18 |
| Objective:Just beyond their warbase, Valus Ta-aurc, Fleet Commander of the Cabal Siege Dancers, hides in an Imperial Land Tank. Fight through his guard and stop this terror before he destroys all of Freehold..[/strong] |
| Fireteam: 1-3 players |
| Cooperative |
| Matchmaking |
| Rewards: 4800 XP, Armor Upgrade |
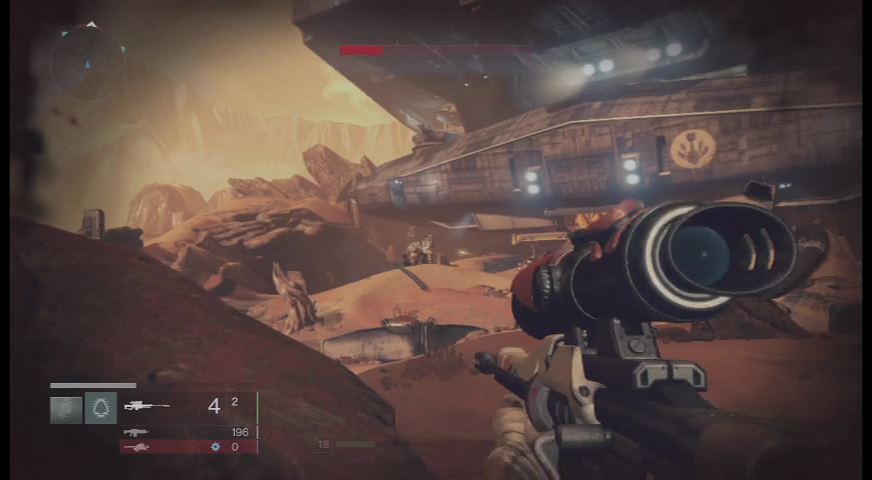
This strike mission will take you to Mars, home of the brawny and resilient Cabal. The enemies here high higher defense compared to the other units you've faced before and since their levels are close to the level cap, expect to have a challenging time taking them down. For the early part of the mission, it will help riding any armed vehicles you find. Also, don't aggressively rush towards a fortified position, even if you're using a Titan. The Cabal also has destructive firepower in addition to their excellent defenses at their disposal.
Rubicon Wastes
Head to the base ahead and kill all Cabal. You can ride one of the interceptors there. These vehicles are heavy hovercrafts that fires slow but explosive projectiles. They are also heavily armored, capable of taking more hits than the conventional Pike or Sparrow. Follow the path until you encounter the another base. Take note of the hills or mounds on the ground as they may block your interceptor's line of fire. Keep whittling down the enemy forces as you push yourself further inside the base. Kill all enemies here then continue forth with your interceptors until you reach the next area deeper in the base.
Iron Line
The next enemy position is heavily defended and there's limited space to move around with your interceptor to get a clear shot without exposing yourself to enemy fire. There are a lot of barricades and ramps in the area, which gives your enemies more clearance to hit you. If you're having troubles hitting the enemies with your interceptor, don't hesitate to the disembark and fight them on foot. Just be careful not to be too aggressive. The Cabal are very resilient and their weapons hurt a lot, especially the quad-rocket launcher of the Cabal Colossi.
After taking out the group along the ramps, you have to deal with more Cabal troops in the cavernous area. Take them all out then continue forth the large tunnel leading to the next area.
Trenchworks (Darkness Zone)
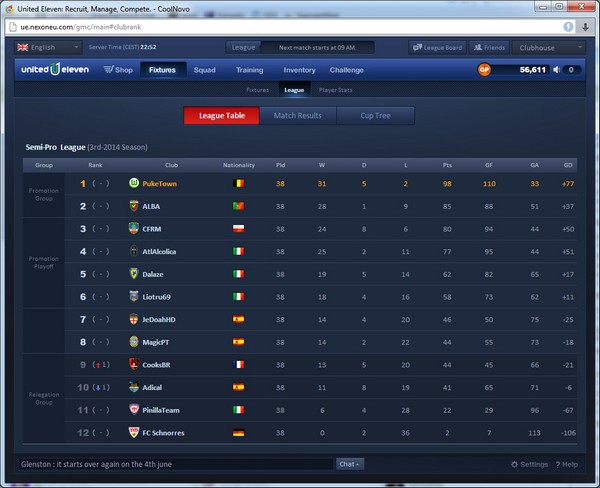
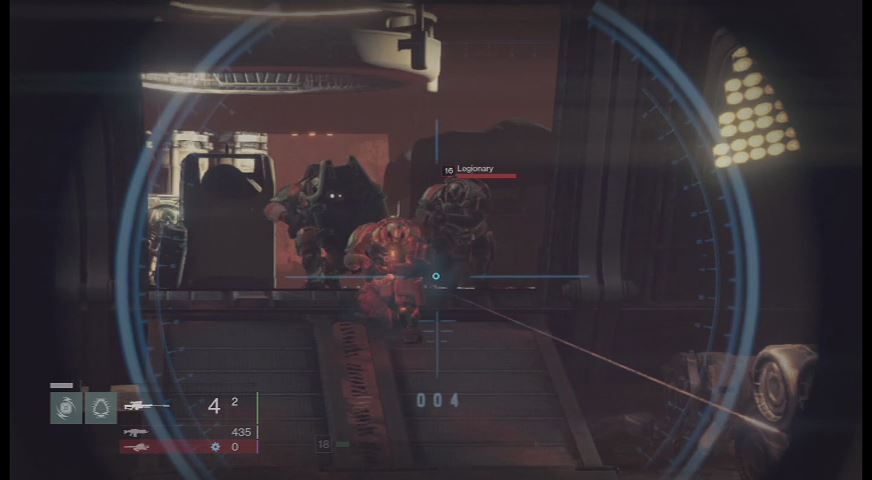
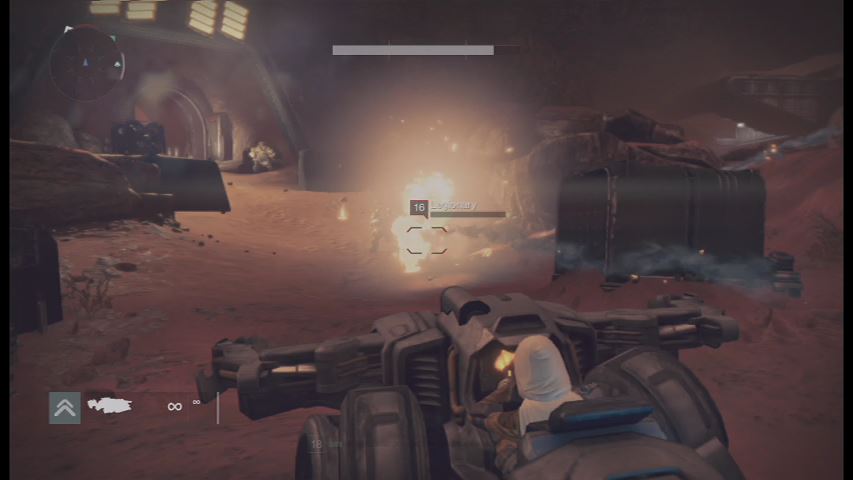
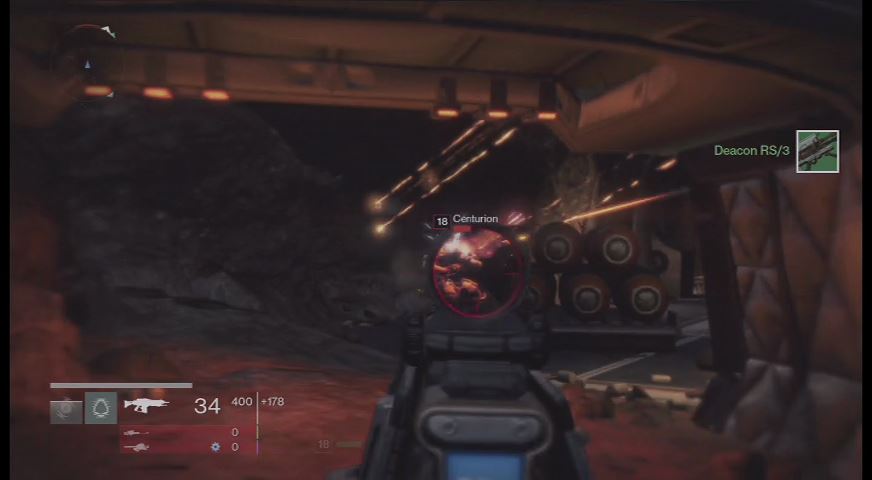
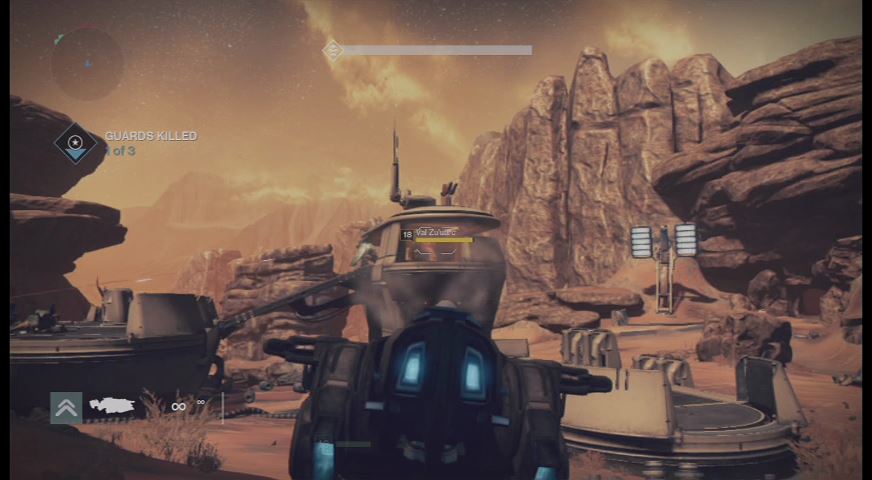
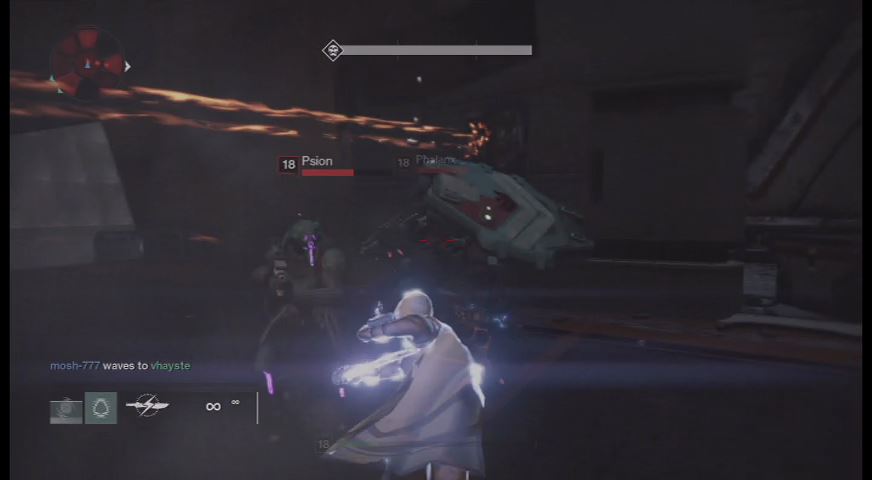
More enemies are waiting for you in the hangar. Your mission objective will be updated as well. Clear the hangar so your team can ride the interceptors in this area. There are a lot more enemies waiting outside. Be careful not to get caught up with the Cabal's aggressiveness. Centurions and Legionaries will try to keep you at bay; the latter will use their jump packs to rush towards you. Just deal with them as they come and don't spread yourselves too thin.
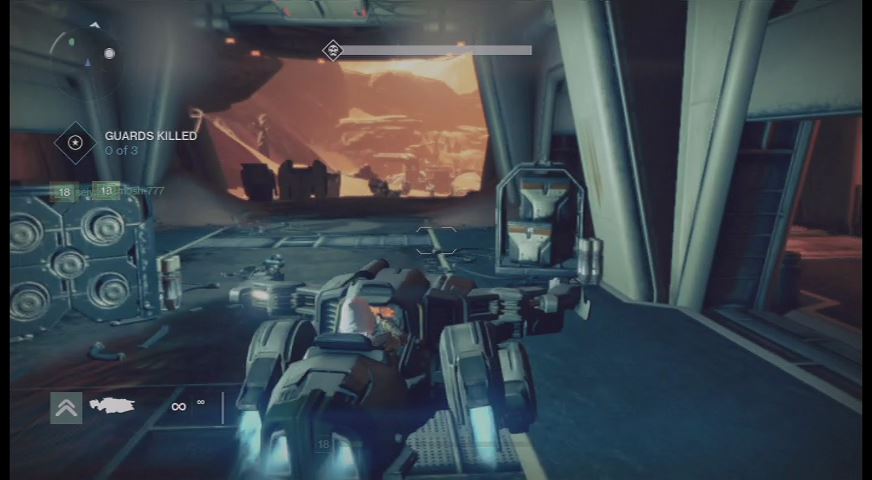
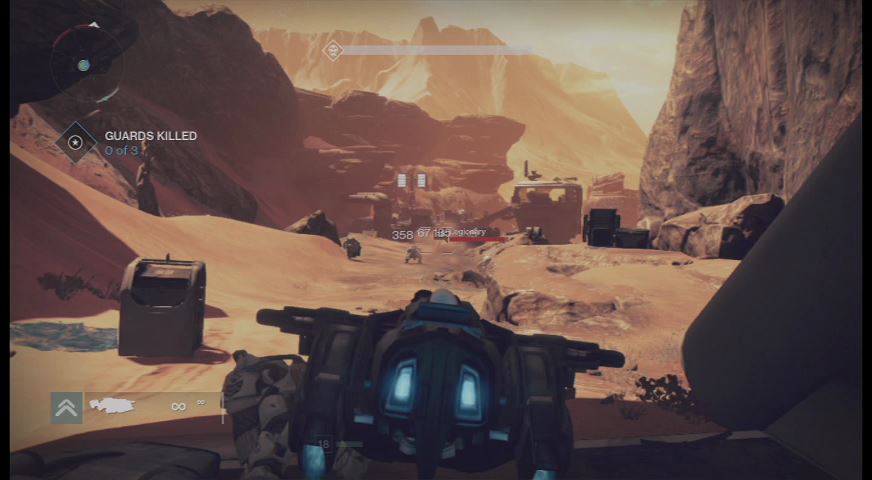
Once you've taken care of the initial wave of enemies, approach the first outpost to find the first Guard there. Eliminate the minions and carefully engage the Guard in battle. He's a Phalanx-type so you have to work around his impenetrable shield to defeat him. Enemy reinforcements will arrive via dropship, including the two more Guards. You can engage them together but it will be preferable to focus your fire on one of them at a time.
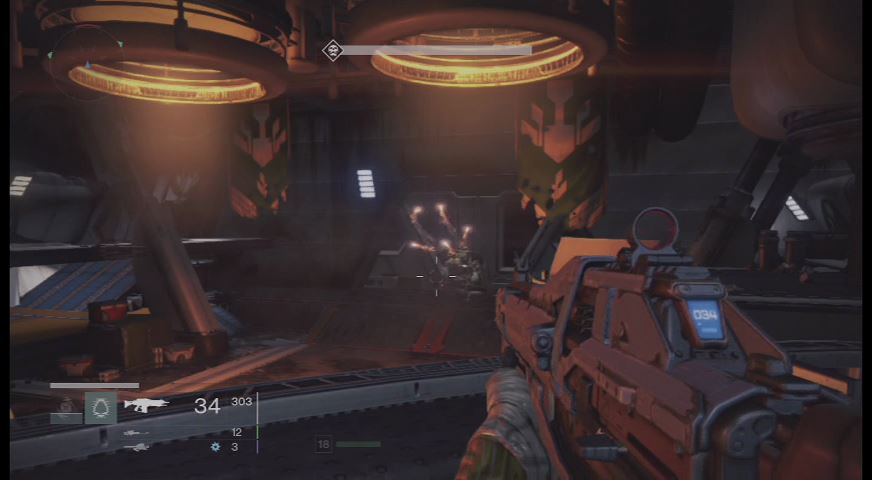
After defeating all Guards and the remaining enemies, another major enemy will arrive in a Goliath Tank. This heavy tank will take a while to take down and will require coordinated attacks. It's main cannon can instantly kil you in one hit. Engaging it using interceptors is risky. You need mobility to avoid the tank's attacks. Make sure to take out the minions so you can concentrate on taking down the tank. Fortunately, the enemies won't respawn so after dealing with them, you can focus your attention to the main threat without worries.
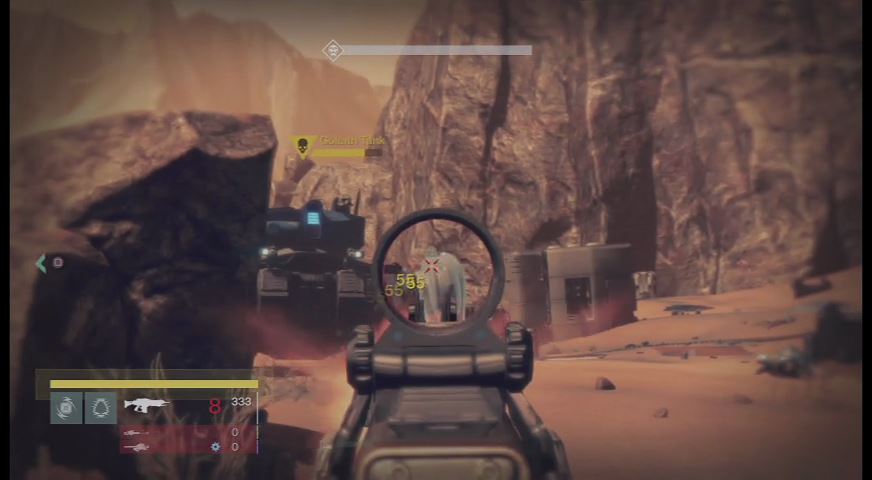
The entire area where the tank will be moving around is quite spacious and this works to its advantage. However, there are a lot of cover you can use as well. This will allow you or your team mates to move around and flank the tank. You can deal more damage by hitting its thrusters.
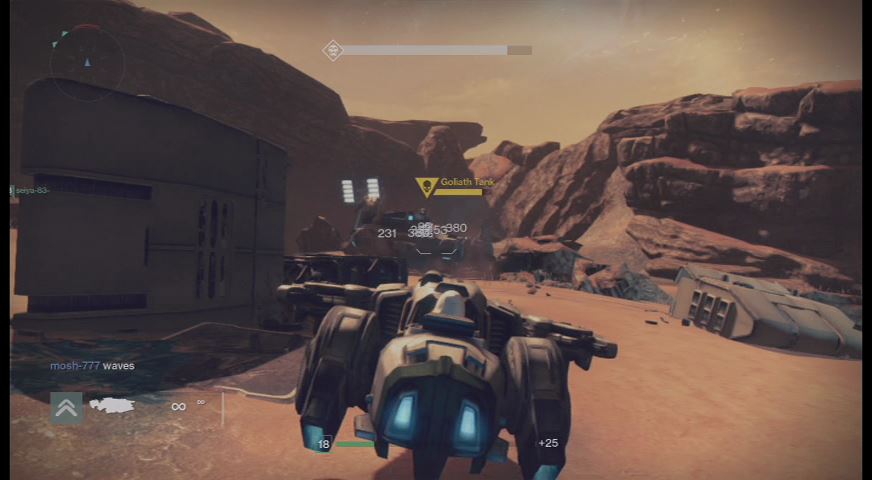
Aside from its main cannon and its rapid-burst gun, you also have to be careful of its explosive spikes that it will plant on the ground. The enemy is easily distracted as well. Use this to your advantage to switch the aggro to you in case you see it targeting one of your team mates. Keep moving around it while alternating between sprints and jumps. Prioritize evading its attacks and firing at it whenever you have the opportunity.
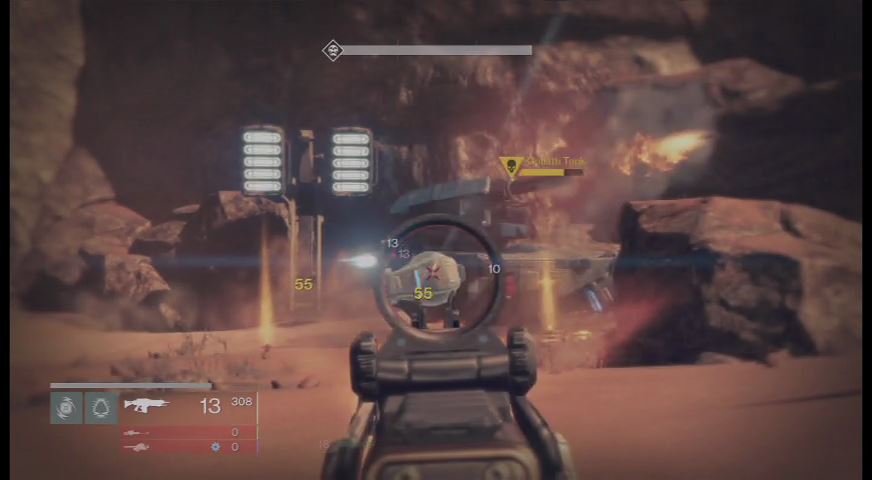
Goliath Tank battle - Cerberus Vae III
Valley of the Kings
Once the tank is defeated, summon your Sparrow and head to the next location. Follow the path until you reach the massive land tank. More enemies are waiting there, ready to defend the entrance to their end. If possible, try to take out the “softer” enemies first then quickly close the distance while moving from cover to cover. Take out the targets one by one, until you defeat all enemies. Head inside the land tank.
Cerberus Vae III
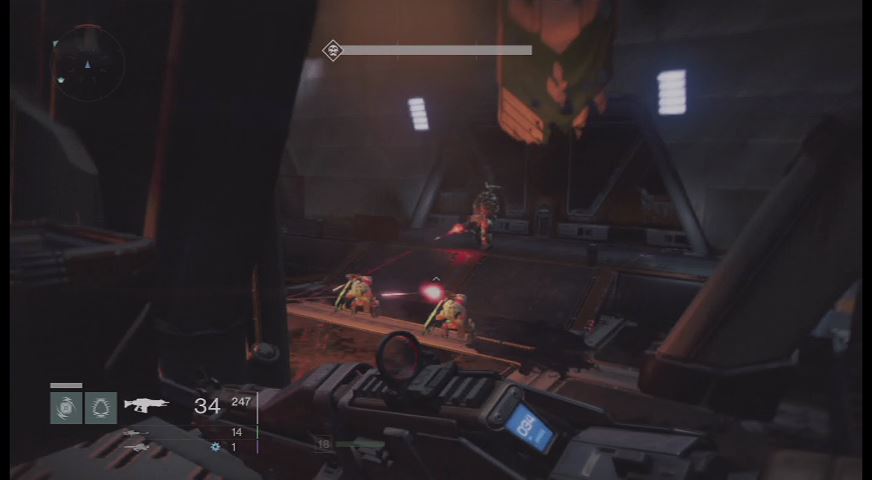
Go deeper the tank and you'll engage more enemies inside. Take them all out and collect all ammo drops, if there's any. Once ready, head to the next area where you'll have to face the boss itself.
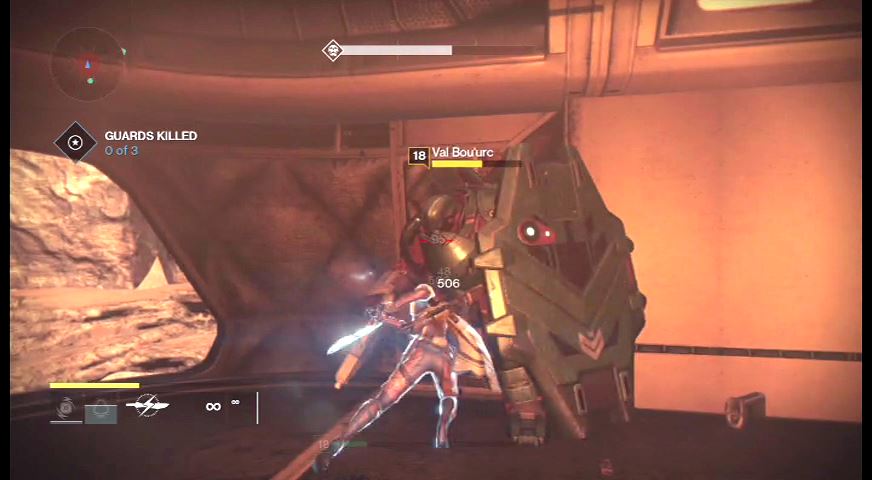
Don't waste your precious heavy ammo weapon or powers while Ta'aurc is exiting from the door. Wait until his life bar appears over his head before engaging him. Ta'aurc's attacks are really devastating so take cover once you see him firing towards your direction. He alternates between releasing homing rockets, and a barrage from his mini-gun. Keep an eye to his actions so you can hide behind cover whenever you see him preparing for an attack.
He also alternate relocates from one end of the area to the other. You also need to be careful of his regular wave of reinforcements. These are not pushovers either. Prioritize taking them out first since they'll give you a lot of trouble if you leave them on their own. The Phalanx troops will also converge with the boss and protect him. You have no choice but to deal with them first since you won't be able to flank the boss with them around.
The boss has a LOT of HP. Expect this battle to drag on, especially if you're only using basic weapon. End-game weapons can deal considerably more damage and can easily increase your odds of survival by allowing you to kill the pesky minions faster and more efficiently. Also, you need to consider when to revive your team mates. If they're in the open and if it's rather risky to revive them, resist the urge to come to their rescue. Even if you're fighting in a Darkness Zone, players can still respawn but it will take longer before they can do so. As long as there's someone alive in your team, the battle will continue normally. If your team is wiped out however, the whole fight will reset with the boss' HP bar fully recovered.

When the boss's HP is critical, he will keep moving from side to side while continuously unleashing his rockets. His reinforcements will also arrive more regularly so you have to be more aggressive to avoid getting overwhelmed. Keep repeating the process of defeating the minions and shooting the boss from cover. Don't worry about running out of ammo; the game automatically recovers a considerable amount once you fully empty out your clips. This is the game's default unlimited ammo feature.
Valus Ta'aurc - Cerberus Vae III
Comments for 05: Cerberus Vae III
No comments yet. Tell us what you think below to be the first.
Add a comment
Please do not be rude, what may be obvious to you may not be to others.Characters left: 1000